
Turning Your Artwork into Embroidery
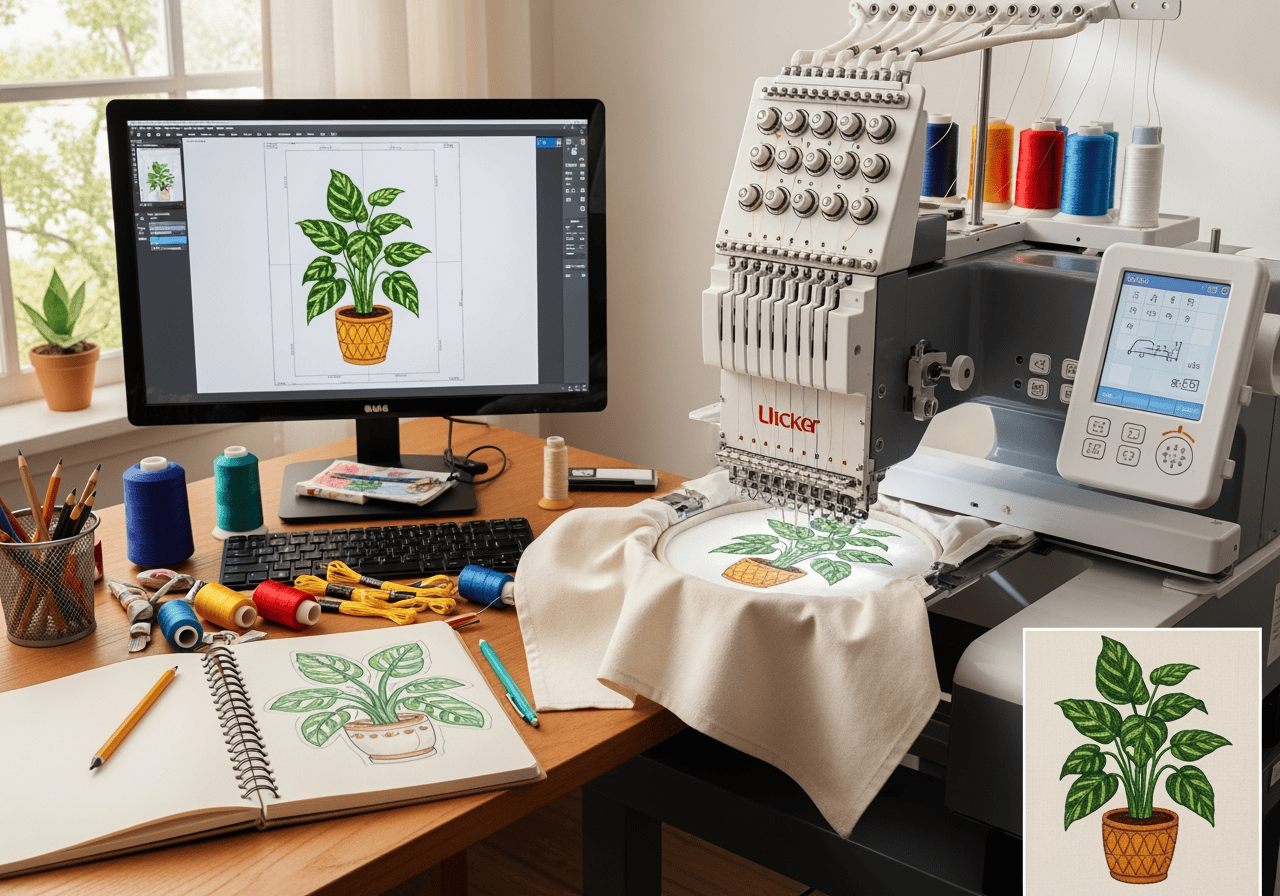
Ever wondered how a doodle on a notepad becomes a professional design stitched onto a polo, cap, or tote? With commercial machine embroidery, turning your artwork into thread magic is easier (and more fun) than you might think! Here’s how the process works—and how you can turn your creative ideas into stitched reality.
Step 1: Start with a Clear Design
Keep it Simple: Bold lines and clear shapes work best for embroidery, especially for beginners. Avoid tiny details or super-thin lines—they can get lost in the stitches.
High-Contrast Helps: Black-and-white sketches or digital files with solid outlines are easiest to digitize.
Size Matters: Think about where your design will go (left chest, cap, bag, etc.) and size it accordingly.
Step 2: Digitizing—The Secret Sauce
- What is Digitizing?Digitizing is the process of converting your artwork into a digital file your embroidery machine can read (formats like .DST, .PES, etc.).
- Who Does It?You can use digitizing software if you’re tech-savvy, or have a pro (like us at RM Custom Screen Printing!) handle it for you.
- Why It’s Important:Good digitizing tells the machine which stitch types to use, where to start and stop, and how to layer colors for the best look and feel.
Step 3: Choosing Your Colors and Threads
- Thread Selection:Pick thread colors that match or complement your original artwork. Commercial machines use high-quality polyester or rayon threads for durability and vibrancy.
- Pantone Matching:For business logos or brand colors, we use Pantone color guides to get the closest match in thread.
Step 4: Test Stitching
- Always Test First:Before running a big batch, we do a test stitch on similar fabric to make sure the design looks just right. This helps catch any issues with sizing, color, or detail.
- Adjust as Needed:Sometimes, a line might need to be thickened or a color swapped for better visibility—test runs make perfect!
Step 5: Production Time!
- Hoop It Up:The fabric is hooped tightly and loaded into the machine.
- Load the File:The digitized design is loaded, threads are set, and the machine gets to work—stitching thousands of stitches with incredible precision.
- Quality Check:After stitching, we trim threads, remove stabilizer, and give everything a final inspection.
Step 6: Show Off Your Creation
Now you’ve got a custom-embroidered masterpiece—ready to wear, gift, or show off! Whether it’s your kid’s drawing, your business logo, or your own doodle, machine embroidery brings your art to life in a way that lasts.
Final Thoughts
Turning sketches into stitches is one of the most rewarding parts of embroidery. If you’ve got an idea (even if it’s just a napkin doodle), don’t hesitate to ask how we can help bring it to life. At RM Custom Screen Printing, we love making your creativity wearable!
